My Summer Car is a popular simulation game that allows players to build and customize their vehicles. Whether you’re a car enthusiast or enjoy tinkering with virtual machines, customizing your vehicle can be an exciting and rewarding experience. This step-by-step guide will walk you through customizing your vehicle in My Summer Car.
Step 1: Acquiring the Necessary Parts
Before diving into customization, having all the required parts for your desired modifications is essential. You can purchase these parts from stores around town or find them lying around junkyards. Make sure you have everything needed before proceeding further.
Step 2: Preparing Your Workspace
Once you’ve gathered all the necessary parts, it’s time to prepare your workspace for customization. Park your vehicle in a suitable location with enough room for manoeuvring and easy access to tools and equipment.
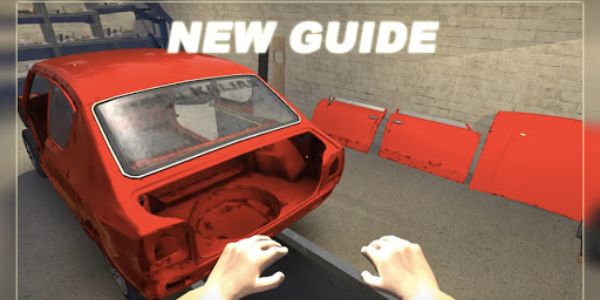
Step 3: Removing Existing Components
To start customizing, remove any existing components needing replacement or modification. This could include items like bumpers, exhaust pipes, spoilers, lights – anything that needs upgrading according to your preferences.
Using appropriate tools such as wrenches or screwdrivers (available at Fleetari Repair Shop), carefully detach these components without causing damage to other parts of the vehicle.
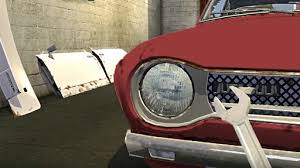
Step 4: Installing New Components
With old components removed successfully, it’s time to install new ones! Take out each customized part one by one from their packaging while referring closely to instructions if provided with them (some mods may not come with detailed instructions).
Ensure proper alignment when attaching new components; otherwise, they might not fit correctly or cause issues during gameplay.
It’s worth mentioning that some complex modifications may require additional steps, such as adjusting suspension settings or modifying engine parameters using tuning software within My Summer Car itself – so be prepared for that if you’re going for more advanced customization.
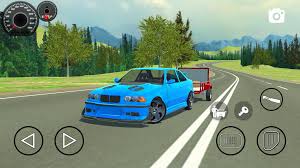
Step 5: Testing and Adjustments
Once all the new components are installed, testing them before finalizing your modifications is crucial. Take your vehicle out for a spin and pay close attention to how each change affects its performance, handling, and overall driving experience.
If any issues arise during testing, make necessary adjustments or replacements accordingly. This step ensures everything works smoothly together without compromising safety or functionality.
Step 6: Fine-tuning Your Customization
After successfully testing your modified vehicle, you might want to fine-tune certain aspects further. You can experiment with different settings like suspension stiffness or gear ratios in My Summer Car’s tuning software (accessible through the computer at home) to achieve desired performance characteristics.
Remember that customizations should align with aesthetics and practicality; finding the perfect balance between style and functionality will enhance your gaming experience!
Conclusion:
In conclusion, customizing vehicles in My Summer Car allows players to express their creativity while improving the performance of their virtual machines.
By following this step-by-step guide on acquiring parts, preparing the workspace, removing existing components, and carefully installing new ones, followed by thorough testing & adjustment – you’ll be well-equipped to embark on a rewarding journey of personalization within the game! So get ready – rev up those engines – because there’s no better time than now for exciting car customization adventures!